Baby Monitor

Safety 1st Reverse Engineered Baby Monitor
TIMELINE:
2 Months
PROJECT TYPE:
3rd Year Computers Project
THE CHALLENGE:
To better understand SolidWorks Surface Modeling, we were assigned the task of reverse engineering a plastic part by creating the model and 3D printing it to test modeling accuracy.
THE PROJECT:
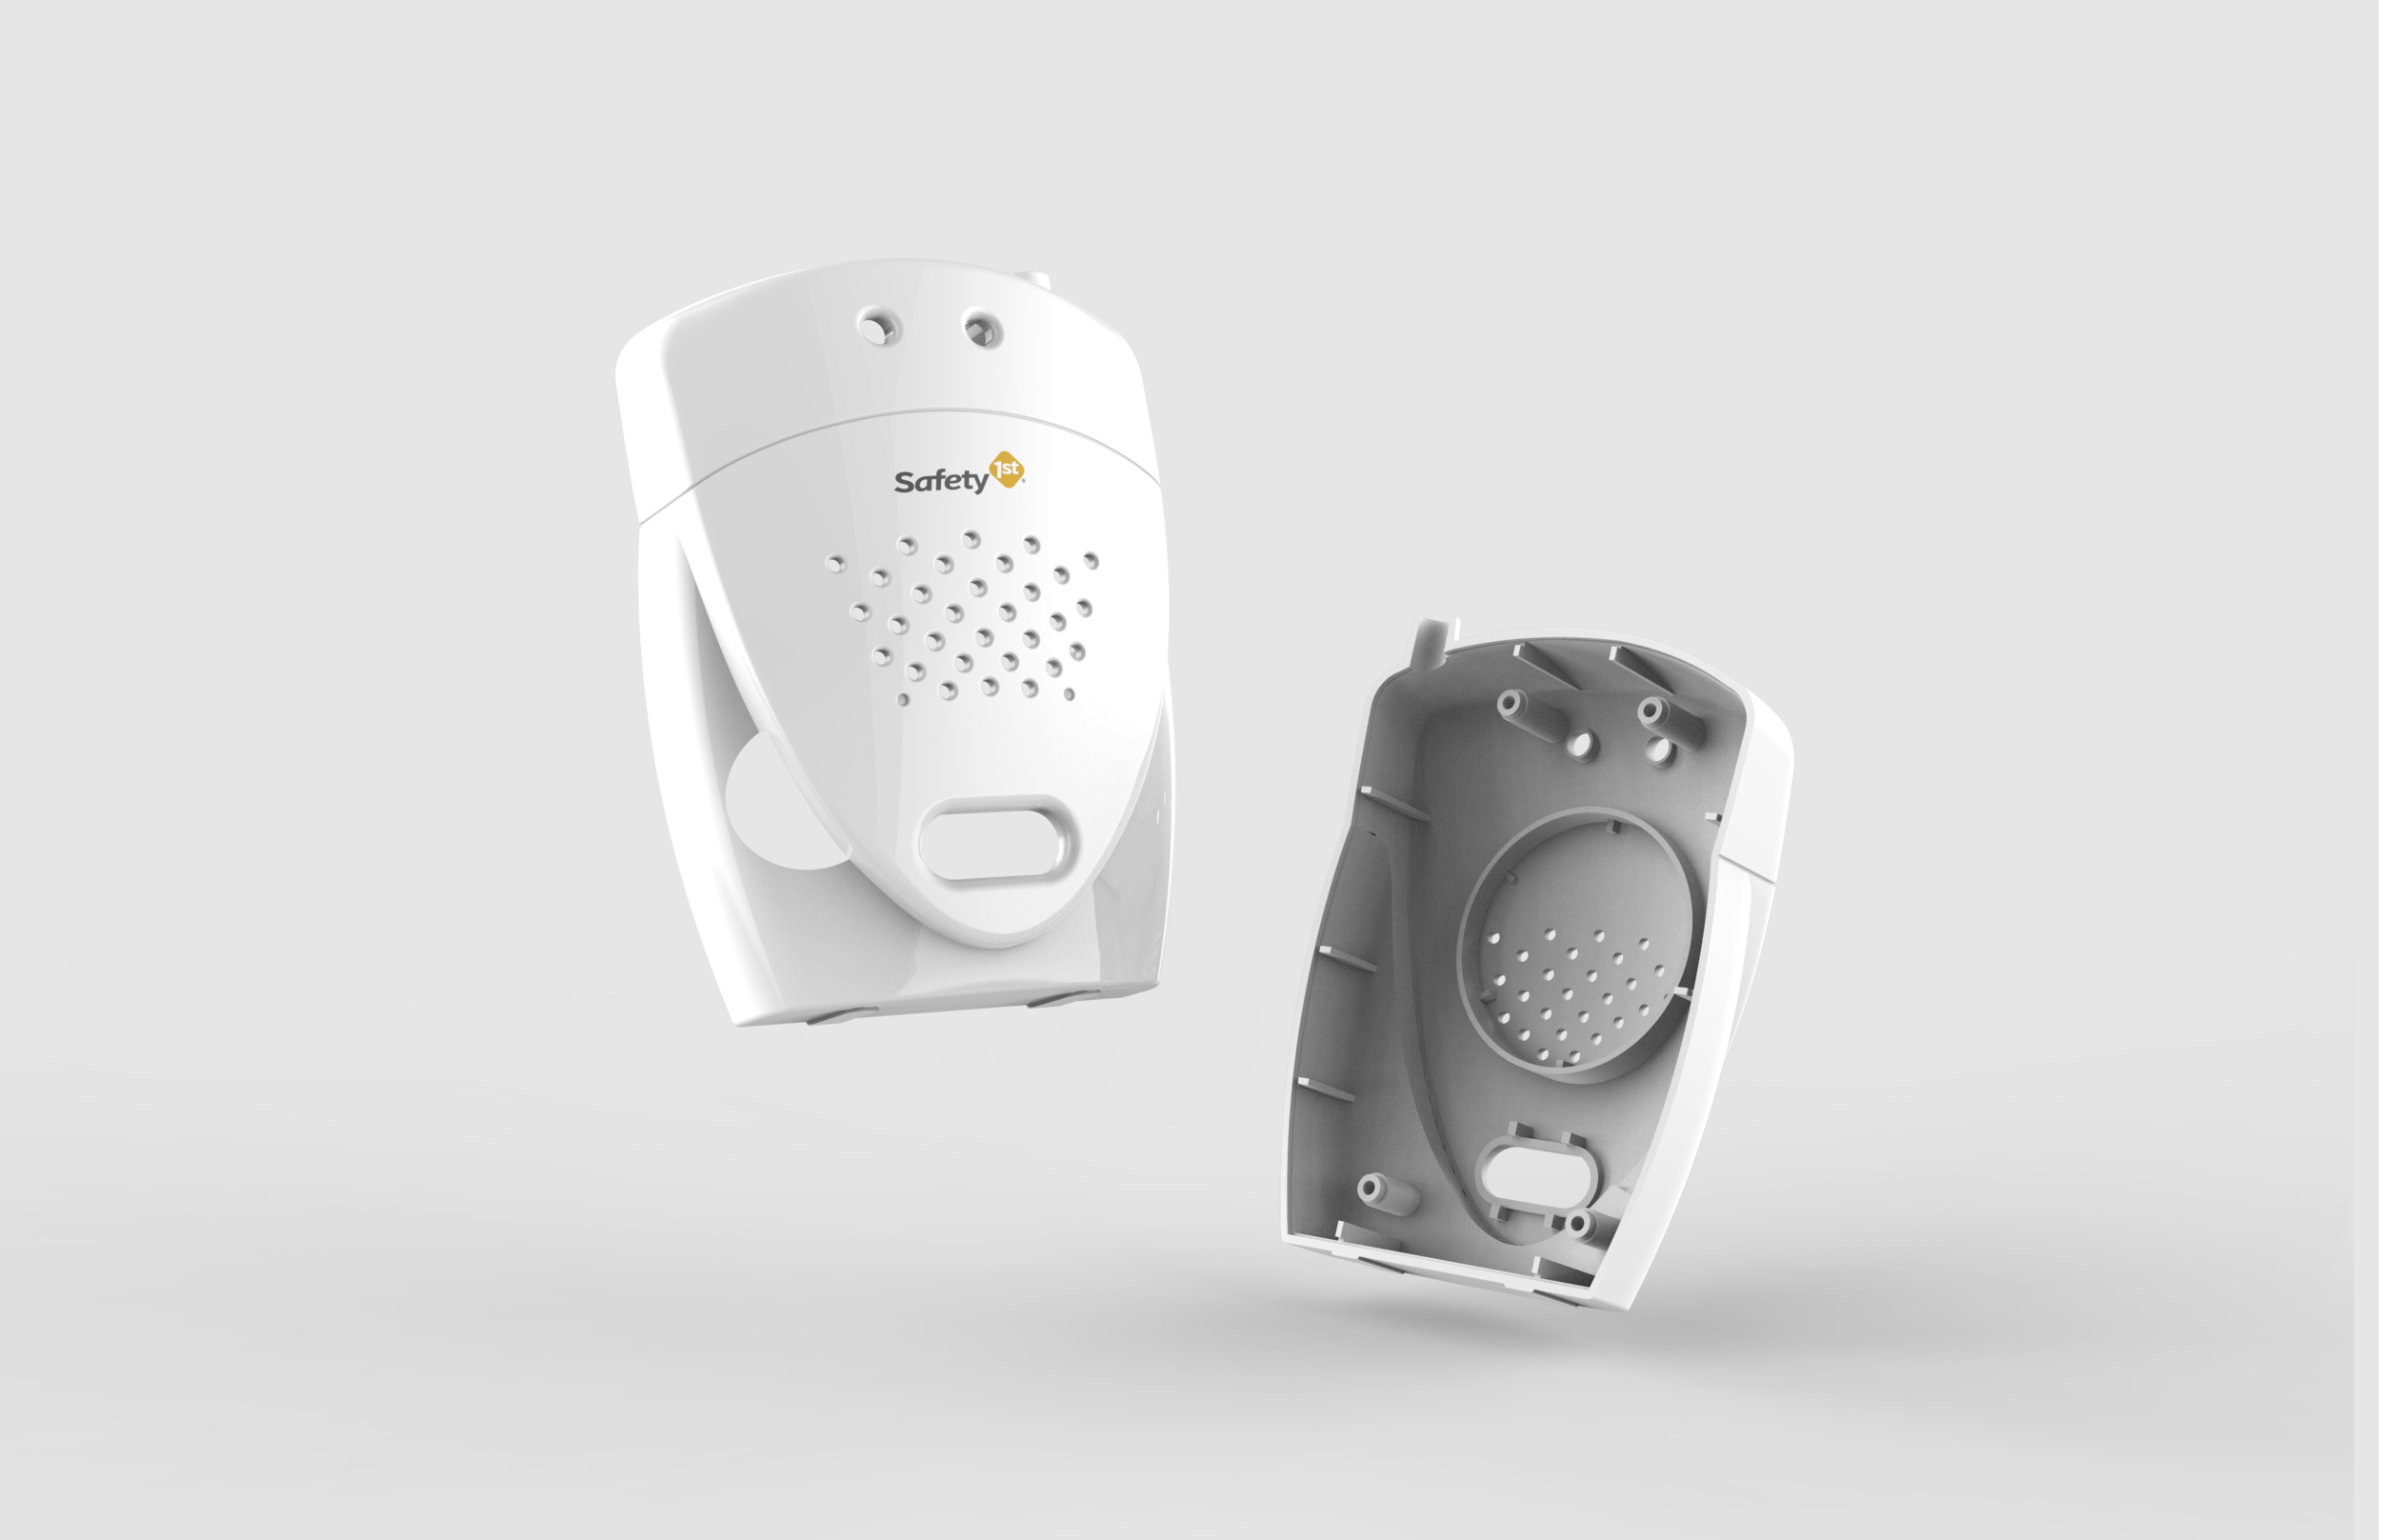
I chose to model the front plastic housing of a baby monitor. I used detailed measurements to model the part in Solidworks, 3D printed it to test, and rendered it using Keyshot.
The part and preparation
The chosen part is comprised of a few overlapping shapes that create complex intersections and profiles, with a number of holes for sound projection, light projection, and switches.


Using flat-lay photographs and scans of the different profiles of the part, I created a sketch with measurements to base my CAD model off of. More measurements were made throughout the modeling process.

set up and process
To start, I took detailed measurements of the part using a vernier caliper, and created an outline on top of a scanned image of the outline of the part. Then, working with these measurements in SolidWorks, I created the part using surfacing tools.

FINAL 3D PRINTED MODELS
Pictured below are the first 3D printed model, the final 3D printed model, and the original plastic part. Due to the small size of some of the details, some aspects of the model did not print well. The SolidWorks model was edited to compensate for these details and so the final model more closely resembles the original part.


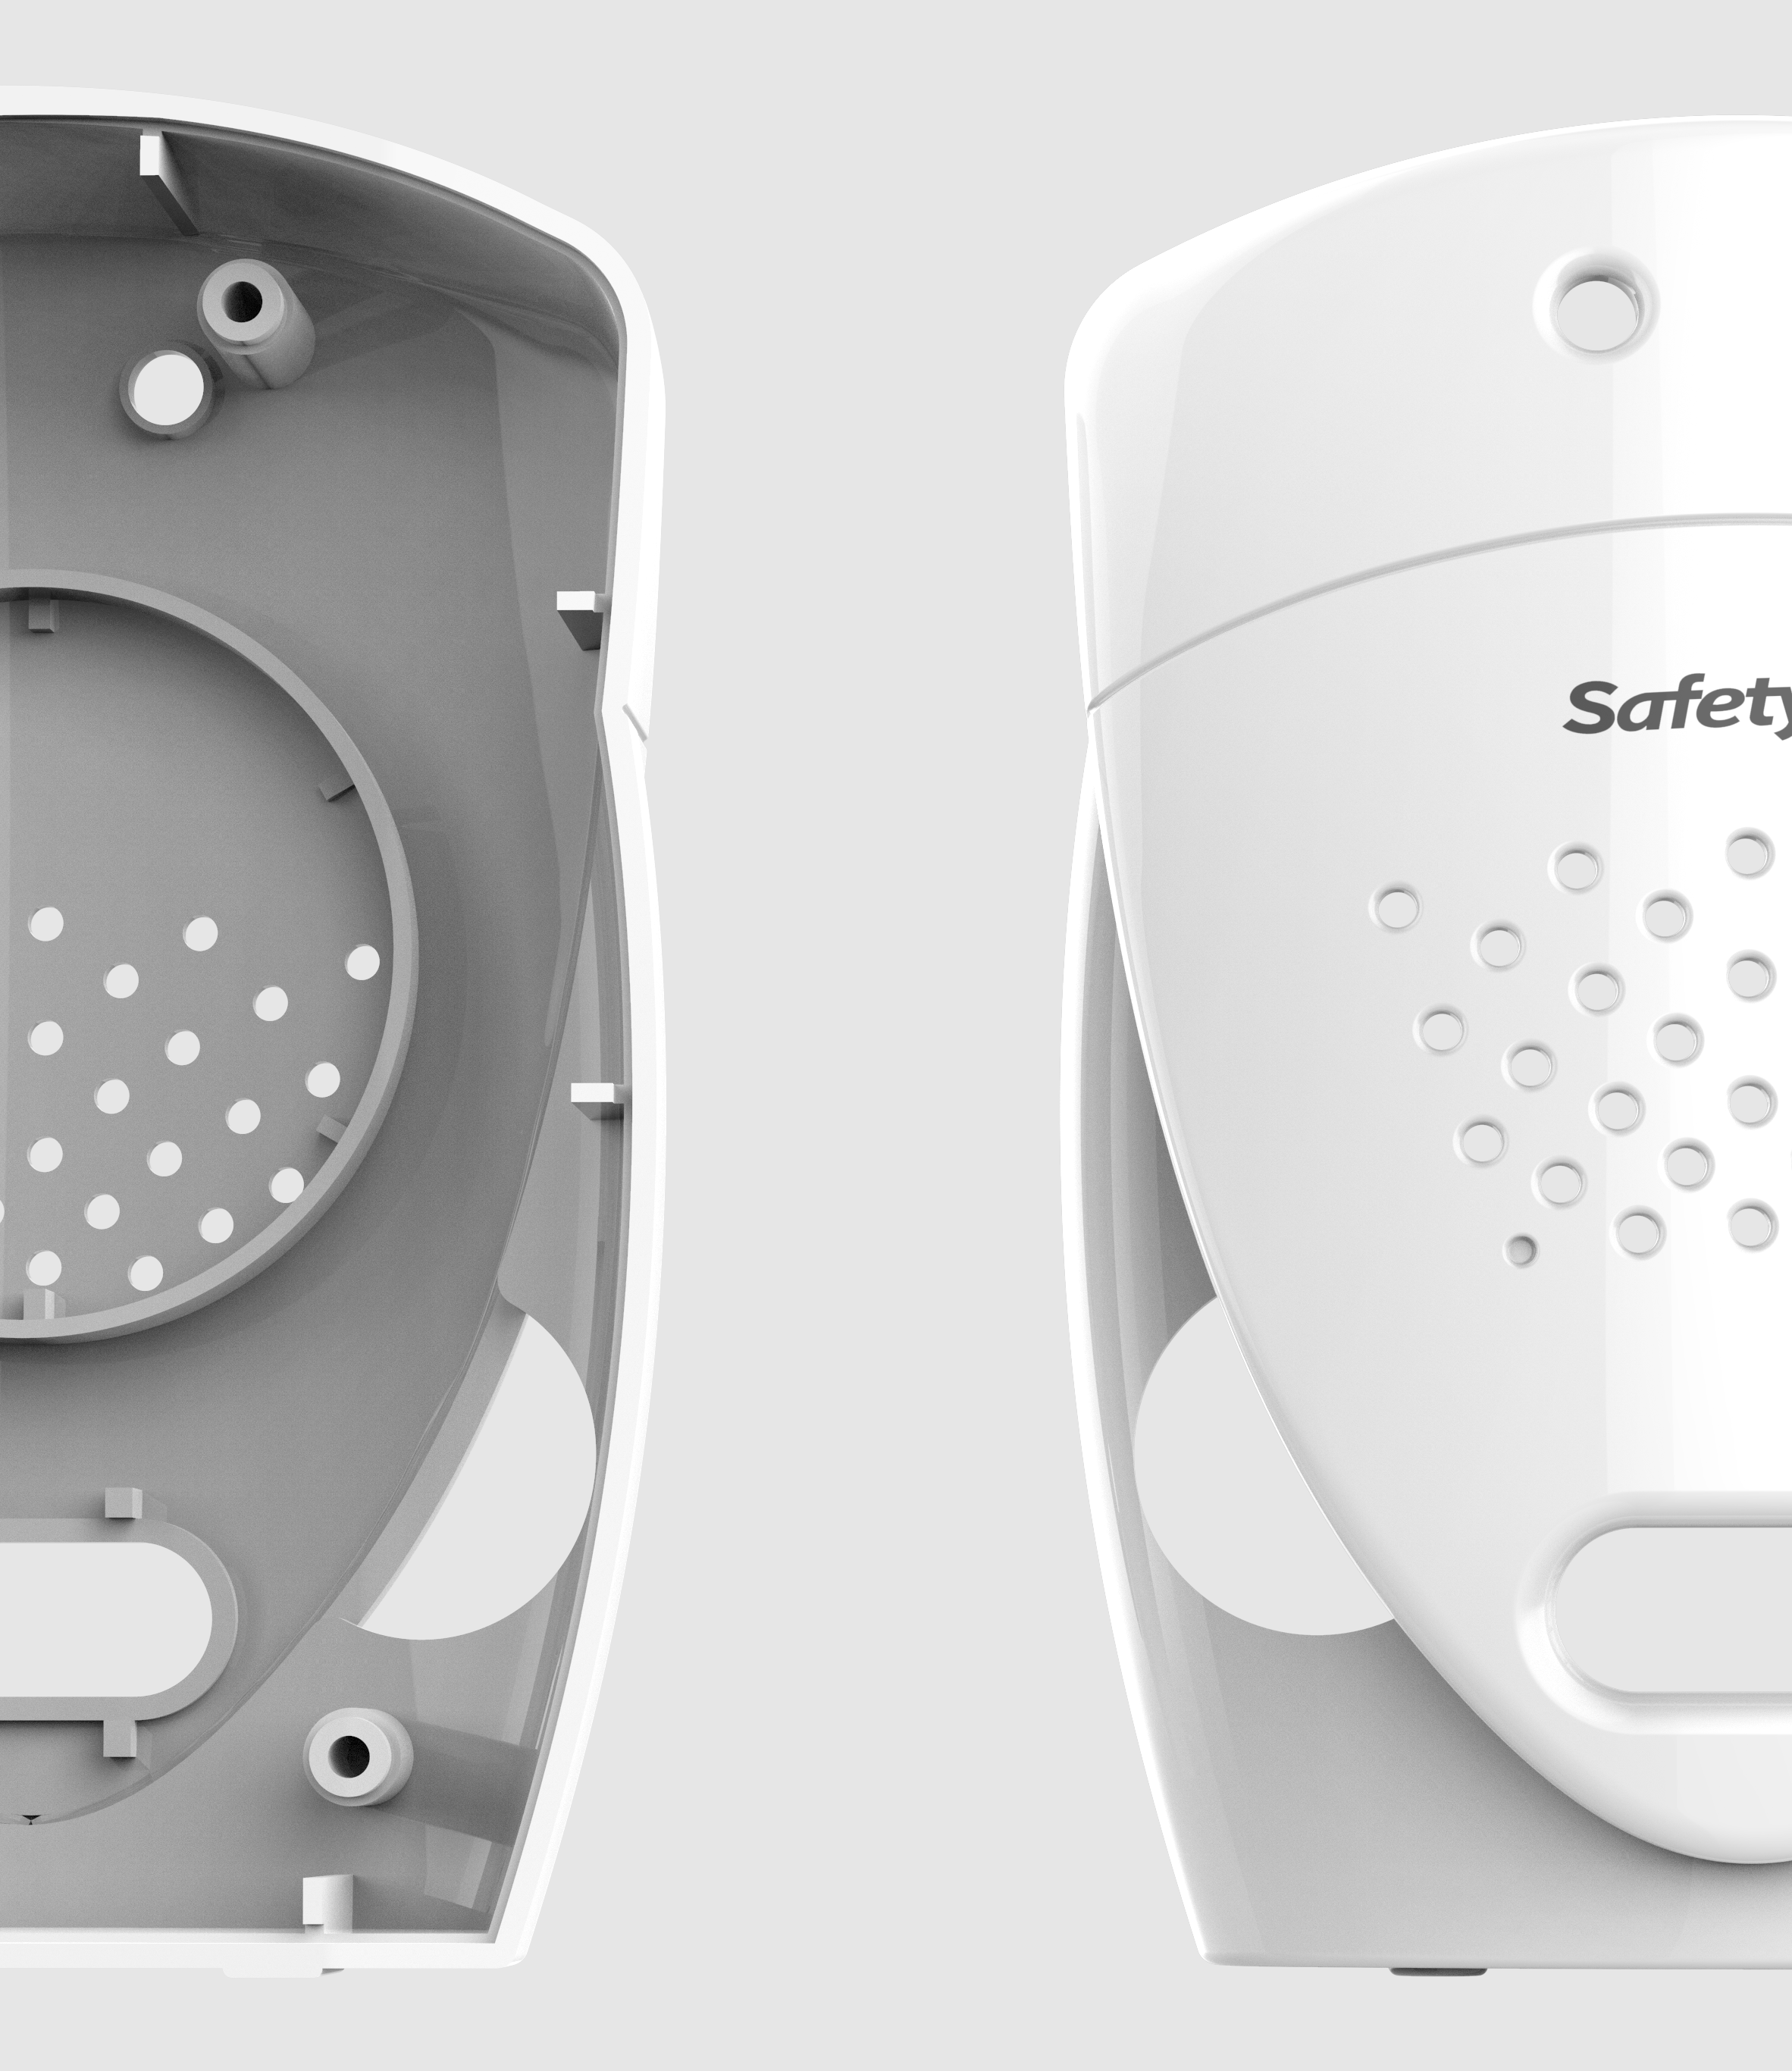
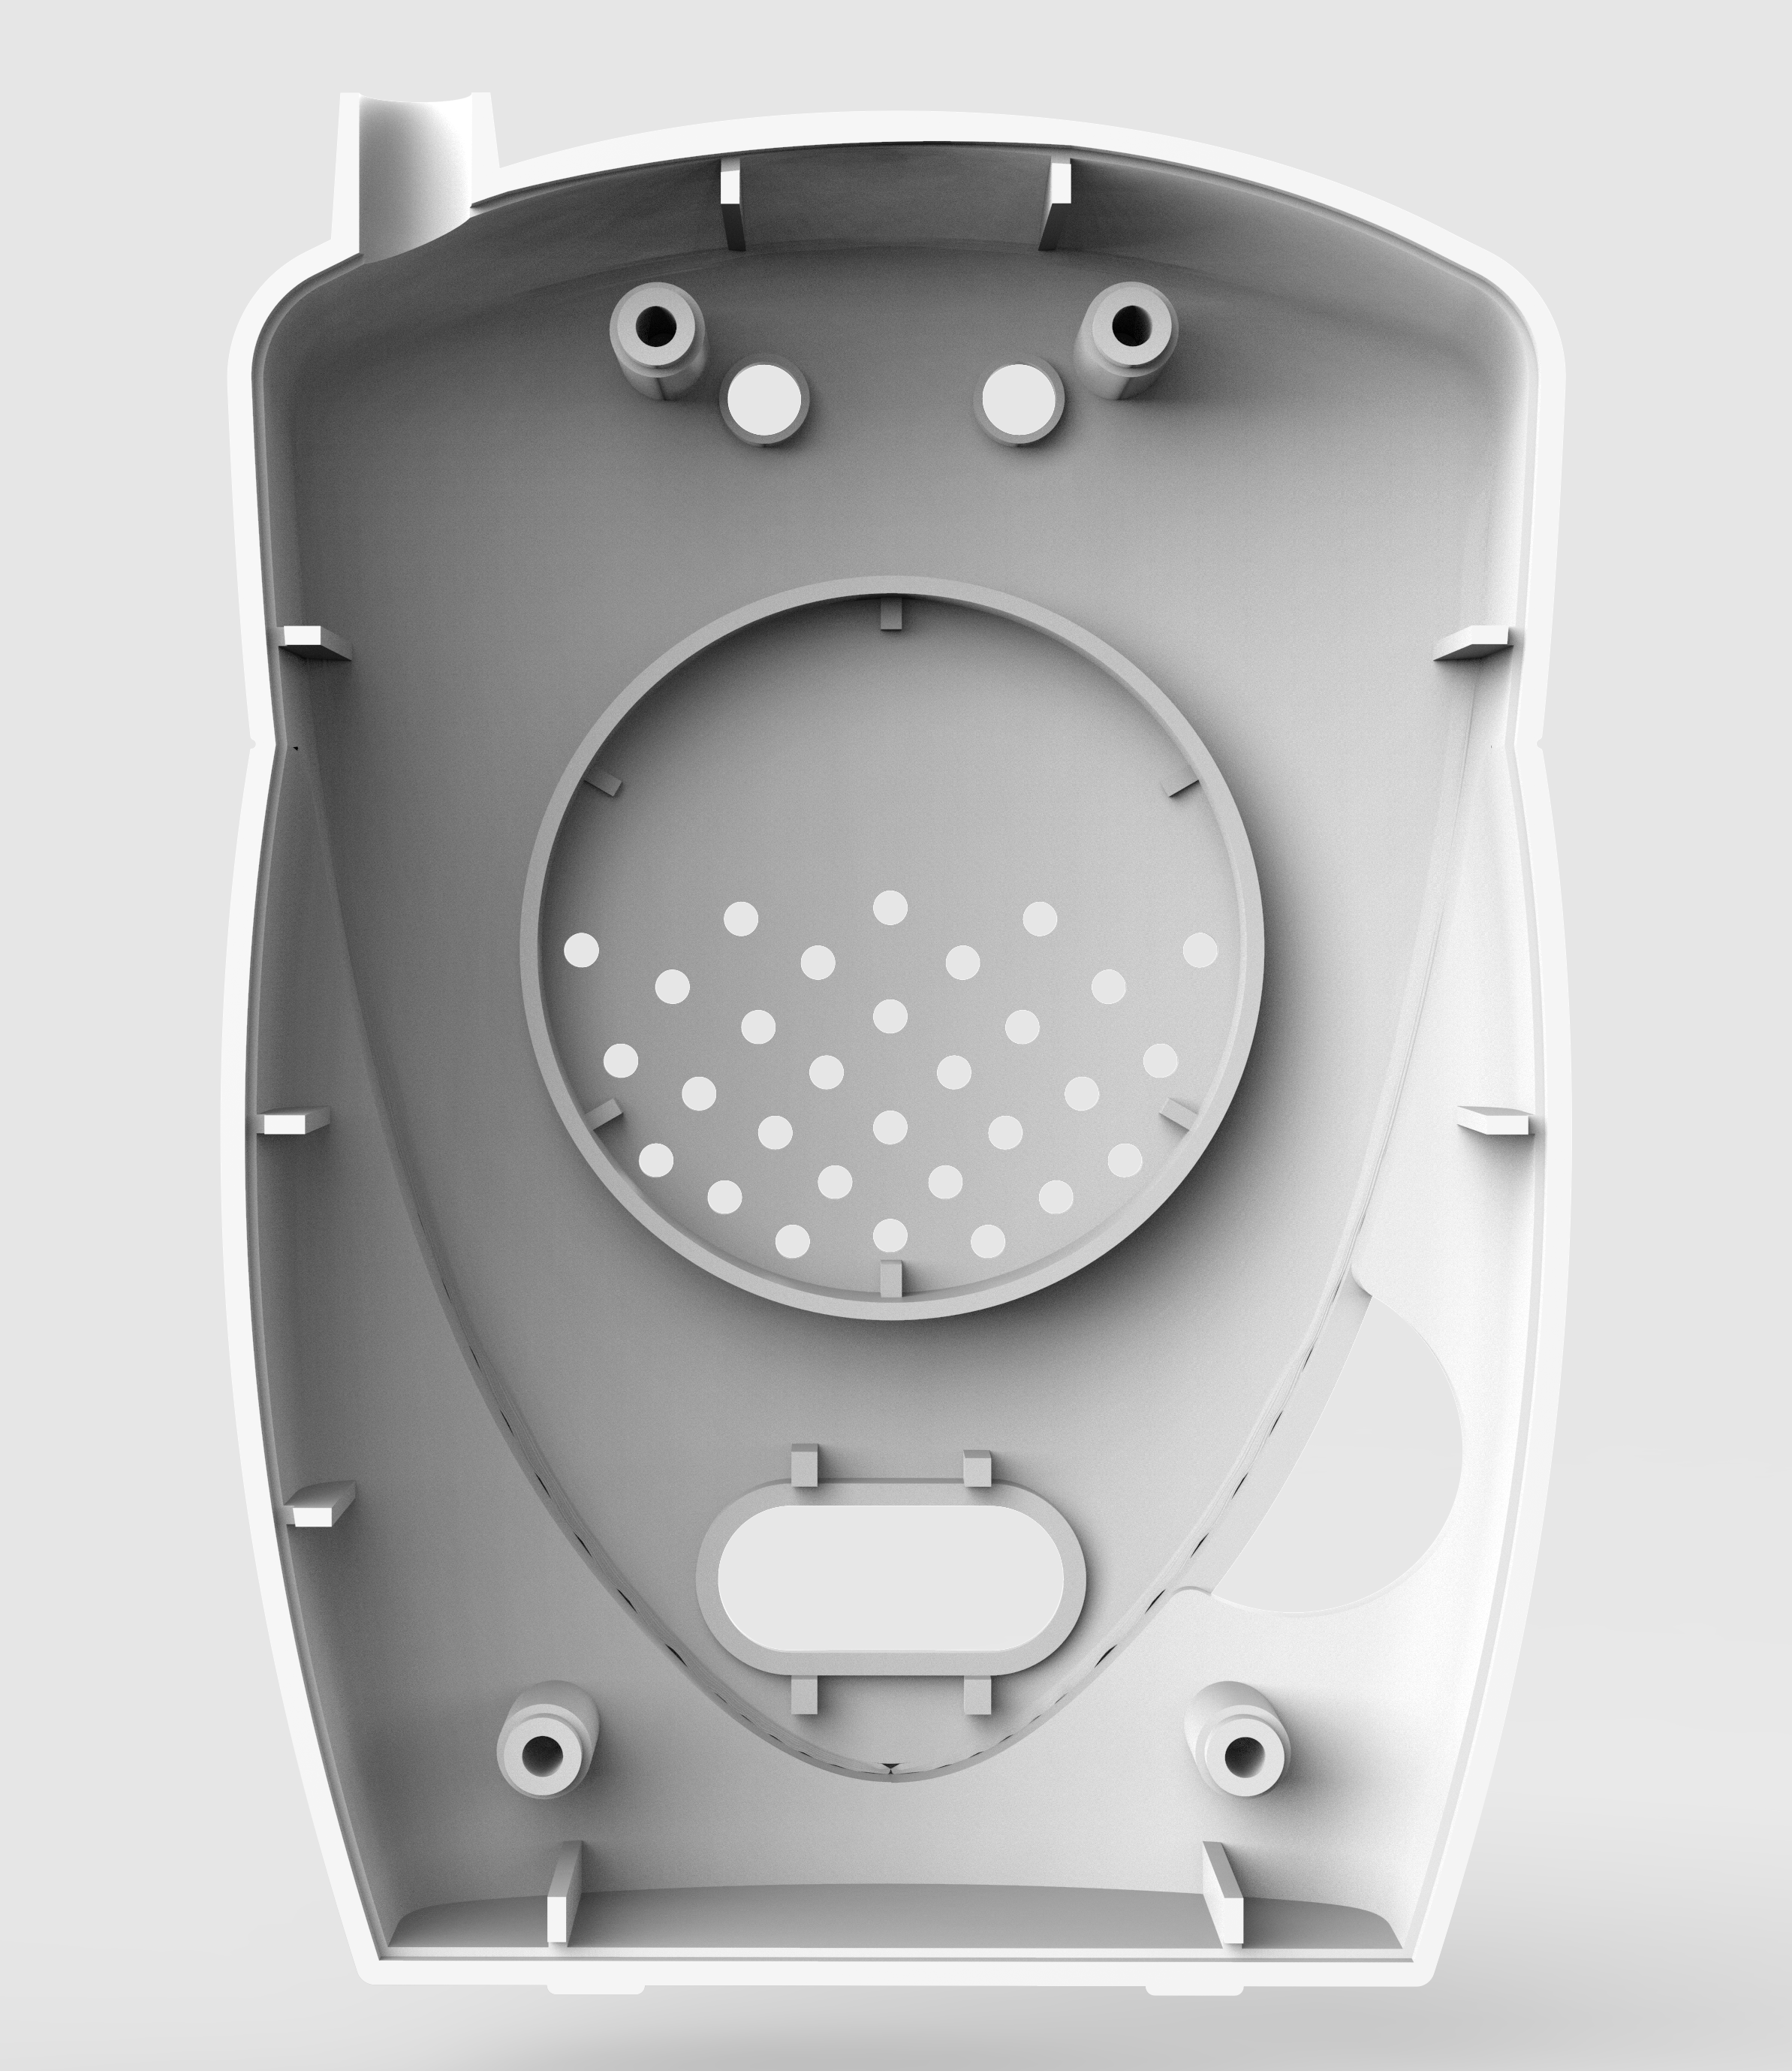
keyshot renderings


